If you’re experiencing trouble with your dirt bike kill switch not working, it can be frustrating and potentially dangerous.
In this article, we’ll explore the possible reasons behind this issue and provide solutions to help you get back on track in no time.


Whether you’re a seasoned rider or new to the world of dirt bikes, understanding why your kill switch is malfunctioning is essential for a safer and more enjoyable riding experience.
So let’s dive in and uncover the reasons behind this problem as well as the steps you can take to fix it efficiently.
Table of contents
What is a Kill Switch?
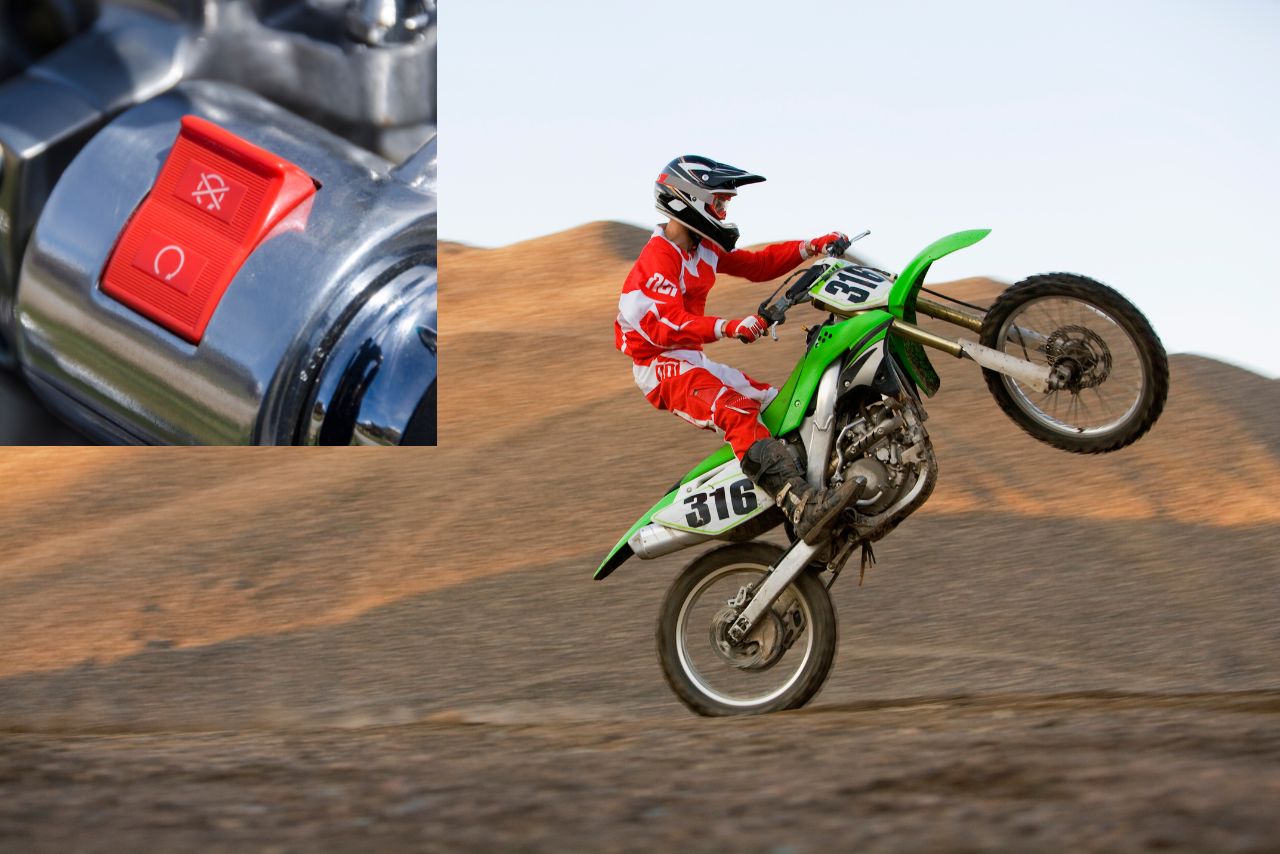
A kill switch is an essential safety feature found on most dirt bikes. It is a small button or toggle switch located near the handlebars that allows the rider to quickly shut off the engine in case of an emergency or when necessary.
Here are some key points about kill switches:
How Does a Dirt Bike Kill Switch Work?
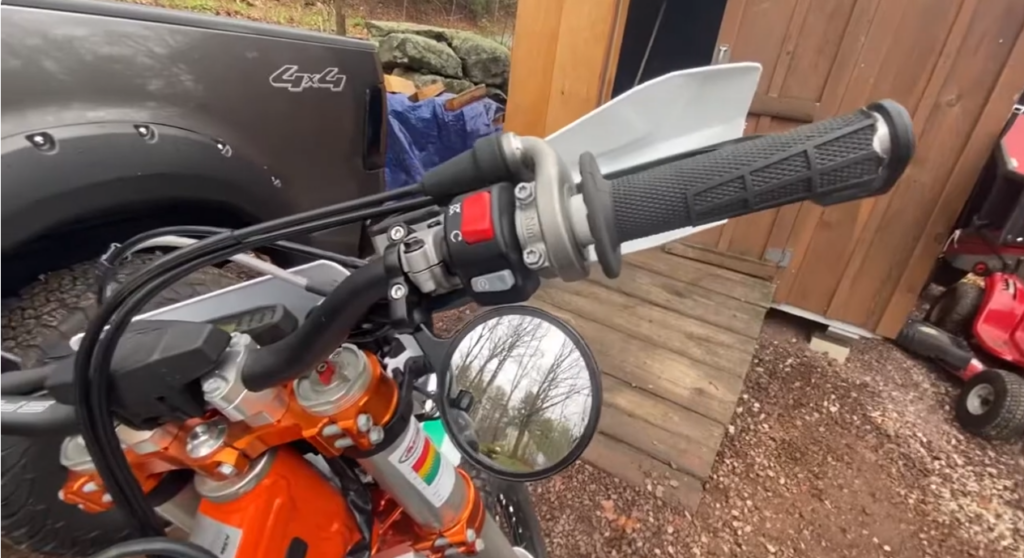
A dirt bike kill switch is a safety device that turns off the engine in the event of a crash. It is typically located on the handlebars, next to the throttle.
When the kill switch is activated, it interrupts the electrical circuit between the ignition coil and the engine, preventing the spark from being created. This causes the engine to stop running.
Dirt bike kill switches are typically activated in two ways:
Common Reasons for a Dirt Bike Kill Switch Not Working:

If you’re facing issues with your dirt bike’s kill switch not working, there could be several common reasons behind this problem. Here are some possible causes to consider:
By identifying these common reasons for a non-functioning dirt bike kill switch, you can now move on to finding appropriate solutions to rectify the problem.
How to Troubleshoot a Faulty Kill Switch?
If your dirt bike’s kill switch is not working properly, it can be frustrating and potentially dangerous. Here are some steps you can take to troubleshoot and resolve the issue:
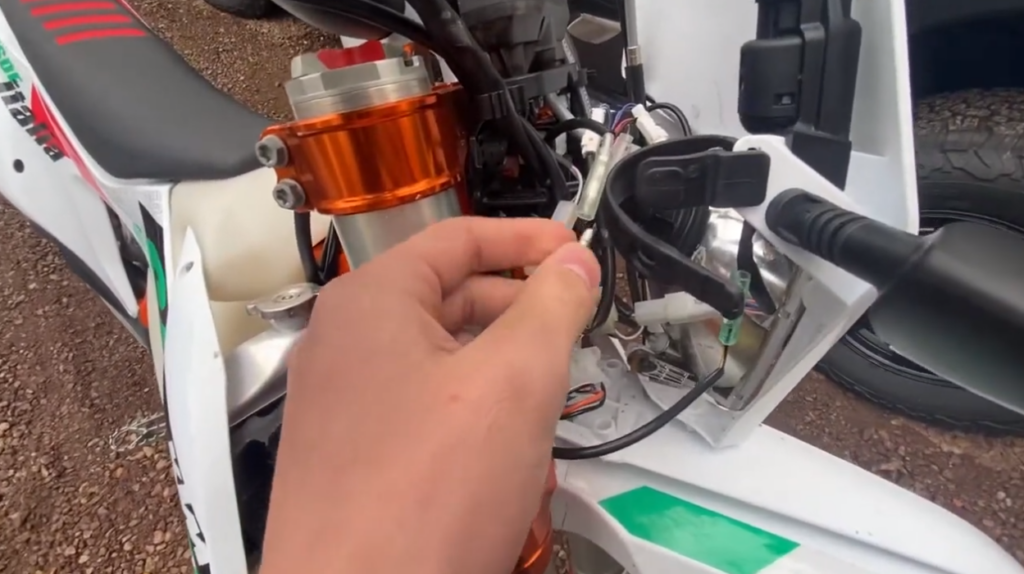
Check the Connections:
- Ensure that all the wires connected to the kill switch are secure and not loose.
- Look for any signs of damage or corrosion on the connectors. Clean or replace them if necessary.
Inspect the Kill Switch Button:
- Press and release the kill switch button multiple times while listening for any clicking sound or feeling resistance.
- If there is no response or inconsistent behavior, it might indicate a faulty button that needs replacement.
Test Continuity:
- Use a multimeter set to continuity mode (beep test) to check if electricity flows through when pressing the kill switch button.
- Connect one probe to each wire connected to the kill switch terminals.Wire ColorMultimeter ProbeRedPositiveBlackNegative
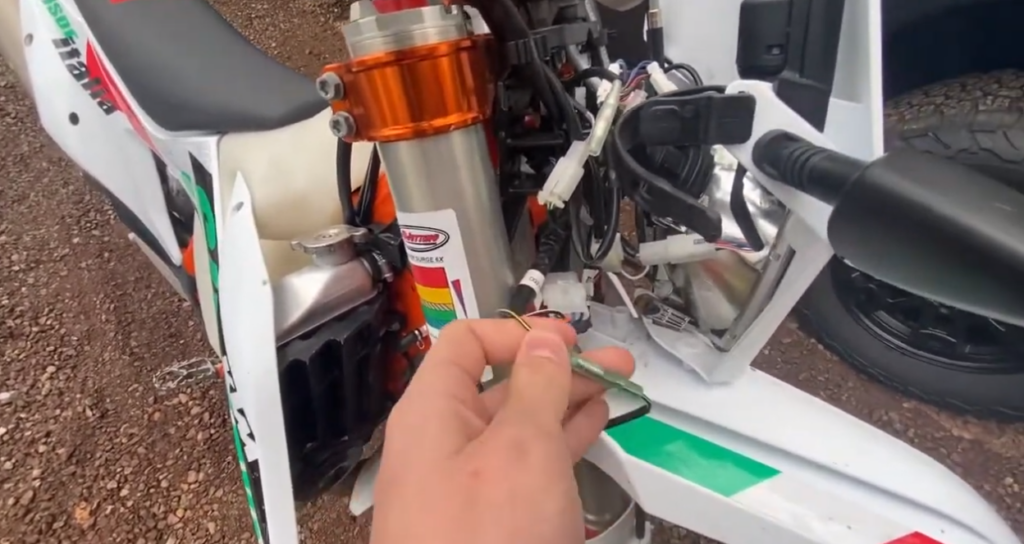
Inspect Wiring Harnesses:
Examine the wiring harnesses connected to both ends of the kill switch for any signs of damage, fraying, or loose connections.
Consider Replacing Components:
- If you have gone through all these troubleshooting steps without success, it may be time to consider replacing either:
- The entire kill switch assembly OR
- The specific component causing issues (e.g., button, wiring harness)
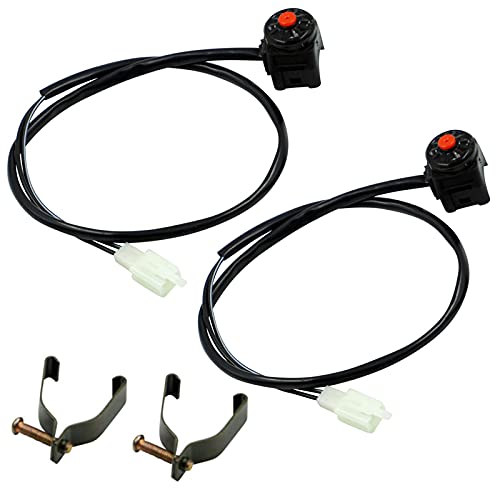
Replacing the Kill Switch on Your Dirt Bike:
If you’ve determined that your dirt bike’s kill switch is not working properly and needs to be replaced, don’t worry! With a few simple steps, you can get your bike back up and running in no time. Here’s what you need to do:
Gather the necessary tools: Before you begin, make sure you have the following tools handy:
- Screwdriver (Phillips or flathead depending on your bike)
- Pliers
- Wire cutters/strippers
- Electrical tape
How to Wire Dirt Bike Kill Switch?
To wire the kill switch, you will need to connect it to the ignition coil. The ignition coil is responsible for creating the spark that ignites the fuel in the engine.
When the kill switch is closed, it interrupts the circuit between the ignition coil and the engine, preventing the spark from being created. This causes the engine to stop running.
There are two ways to wire the kill switch: in series or in parallel. To wire the kill switch in series, you will need to connect it to the ignition coil and then to the battery.
To wire the kill switch in parallel, you will need to connect it directly to the battery.
How to Turn Off a Dirt Bike without Kill Switch?
If your dirt bike does not have a kill switch, there are a few ways to turn it off. The most common way is to stall the engine. To do this, simply let off the throttle and clutch in at the same time. The engine will stall and stop running.
Another way to turn off a dirt bike without a kill switch is to choke the engine. To do this, pull the choke lever all the way back. This will restrict the airflow to the engine and cause it to stall.
Finally, you can also turn off a dirt bike without a kill switch by disconnecting the spark plug wire. To do this, simply remove the spark plug wire from the spark plug. This will prevent the spark from being created and the engine will stop running.
Preventing Future Issues with the Kill Switch:
To avoid encountering problems with your dirt bike’s kill switch in the future, it’s important to take proper care and preventive measures. Here are some steps you can follow:
Remember that taking proactive measures towards maintaining your dirt bike’s electrical components will help prevent issues with its kill switch function in the long run.
Will a Dirt Bike Start without A Kill Switch?
Yes, a dirt bike will start without a kill switch. The kill switch is a safety device that turns off the engine in the event of a crash. It is not necessary for starting the engine.
However, it is important to note that dirt bikes without a kill switch can be dangerous. If you go down in a crash, the engine will continue to run until you stall it or disconnect the spark plug wire.
This can make it difficult to get away from the bike and can also increase the risk of injury.
Watch Video: Dirt Bike Kill Switch Not Working:
Final Thoughts! 💭
If your dirt bike kill switch is not working, there are several reasons why this might be happening. First and foremost, a loose or damaged wire connection could be the culprit.
Make sure to inspect the wires for any signs of wear or fraying and ensure they are securely connected to the kill switch.
Another possible reason for a malfunctioning kill switch could be a faulty switch itself. Over time, switches can become worn out or damaged due to constant use and exposure to dirt and debris. In such cases, it may be necessary to replace the kill switch with a new one.
To avoid potential issues with your dirt bike’s kill switch in the future, regular maintenance is key.
Keep an eye on the condition of the wires and connections, clean any accumulated dirt or grime around the switch area, and consider replacing components periodically as part of routine upkeep.
FAQs
How Can I Determine if My Kill Switch Is the Problem?
To determine if your kill switch is the problem, start by checking the kill switch button for any physical damage or debris that may be obstructing its functionality.
You can also test the connection by checking the wires and connectors for any loose or disconnected parts.
Can a Faulty Ignition System Cause the Kill Switch to Not Work?
Yes, a faulty ignition system can cause the kill switch to not work properly.
If you suspect that the ignition system is causing the issue, it is recommended to consult a professional mechanic for further diagnosis and repair.
Is It Possible to Bypass the Kill Switch Temporarily?
Bypassing the kill switch is not recommended as it compromises safety.
The kill switch is designed to shut off the engine in emergency situations.
It is always best to ensure that your kill switch is in proper working condition before riding your dirt bike.
What Other Troubleshooting Steps Can I Take?
Aside from checking the physical components and connections, you can also inspect the wiring harness for any signs of damage or wear.
Additionally, ensure that the battery is in good condition and fully charged as a weak battery can affect the kill switch’s functionality.
Latest Posts:
- Benelli TNT 135 vs Grom! (A Proper Review!)

- Top 10 Best Air Pump for Electric Scooter! (Tested By Experts!)

- What Problems Does The Kymco Ak 550 Have? Find Solution!

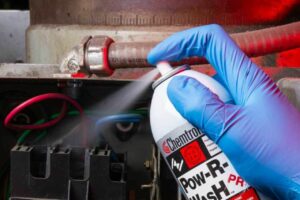
- How to Clean Wiring Harness Connectors? (Simple Guide!)
- Jetson Bolt Pro Troubleshooting! (The Ultimate Guide!)
- What Does 16 Mean To The Pagans? (The Surprising Truth!)