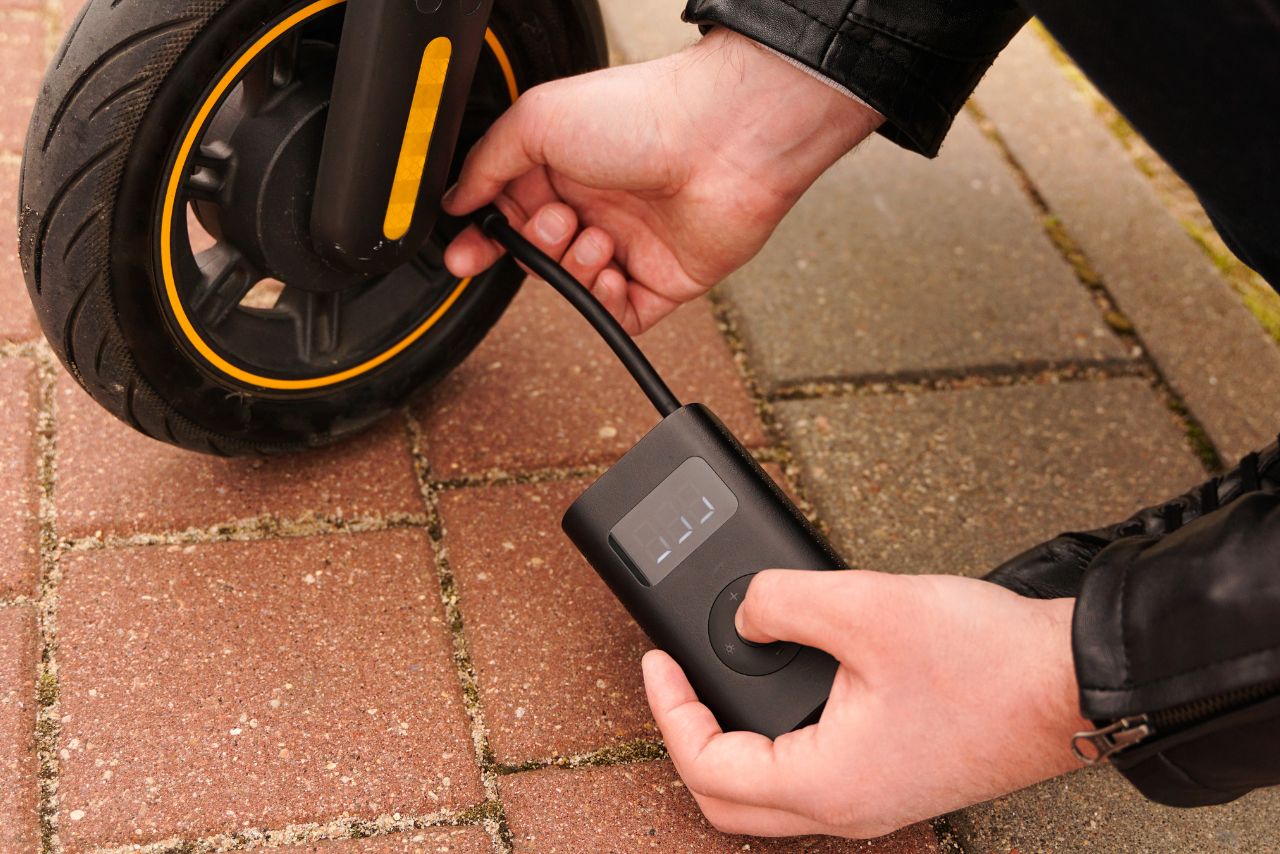
Winter can be a challenging season, especially when it comes to clearing snow from your driveway or pathway.
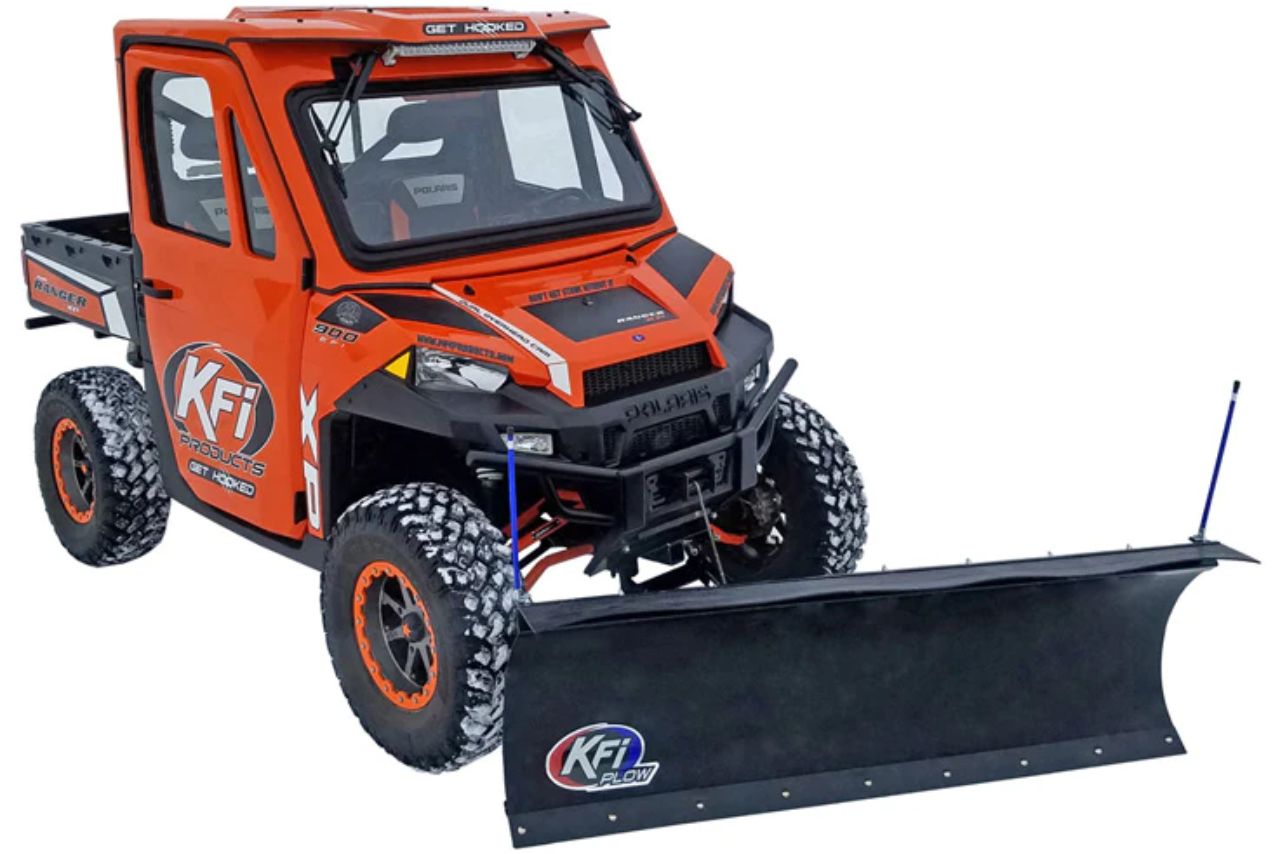
If you own an ATV and want to make your snow removal process easier and more efficient, then you might consider adding a power angle to your ATV plow.
A power angle allows you to adjust the angle of the plow from the comfort of your seat, saving you time and effort in clearing snow.
In this article, we will guide you through the process of making a power angle for your ATV plow, step by step.
We’ll cover everything from the materials you’ll need to the installation process, so you can get your ATV plow ready for the next snowfall.
Whether you’re a DIY enthusiast or just looking for ways to make snow removal easier, this article is for you. So, let’s dive in and learn How to Make an ATV Plow Power Angle!
How to Make an ATV Plow Power Angle? (Step-by-Step Guide!)
Here are simple steps to make your ATV a plow power angle:

1. Choosing the Right ATV Plow
When it comes to choosing the right ATV plow, there are a few factors you should consider to ensure you make the best decision for your needs. Here are some key points to keep in mind:
| Factors to Consider |
|---|
| Size and Weight |
| Blade Material |
| Blade Design |
| Mounting System |
| Ease of Use |
| Price and Warranty |
Remember, choosing the right ATV plow is essential to ensure efficient and effective snow removal. Take these factors into account and select a plow that suits your ATV and meets your specific requirements.
2. Understanding Power Angle
When it comes to using an ATV plow, understanding power angle is essential. This feature allows you to adjust the angle of your plow blade, making it easier to push snow or other materials to the side.
With the right power angle setup, you can ensure efficient and effective plowing.
Here are a few key points to help you understand power angle better:
- What is Power Angle?: Power angle refers to the ability to change the angle of your plow blade while it is in use. By adjusting the angle, you can direct the snow or debris to one side, maximizing your plowing efficiency. It’s like having a versatile tool that adapts to different situations.
- Manual vs. Hydraulic Power Angle: There are two main types of power angle systems: manual and hydraulic. Manual power angle requires you to manually adjust the blade angle by using a pin and bracket mechanism. On the other hand, hydraulic power angle allows you to adjust the angle with the push of a button, making it more convenient and user-friendly.
- Benefits of Power Angle: The power angle feature offers several benefits. Firstly, it allows you to clear snow or debris more effectively by directing it to the desired location. Secondly, it helps prevent damage to the plow and ATV by reducing impact forces. Lastly, power angle saves you time and effort by eliminating the need to manually adjust the blade angle.
- Considerations: When choosing a power angle system, consider factors such as the size of your plow blade, the type of terrain you’ll be plowing, and your personal preferences. Hydraulic power angle systems are generally more convenient but may come at a higher cost.
3. Installing the ATV Plow Power Angle Kit
Installing an ATV plow power angle kit is a straightforward process that can greatly enhance the functionality of your ATV plow.
With the power angle feature, you can easily adjust the angle of the plow blade without leaving your seat, making snow removal a breeze.
Here’s a step-by-step guide to help you install the ATV plow power angle kit:
| Step | Description |
|---|---|
| 1 | Prepare your ATV and gather tools |
| 2 | Mount the power angle switch on the handlebar |
| 3 | Connect the wiring harness to the switch |
| 4 | Attach the mounting bracket to the plow frame |
| 5 | Connect the plow angle cylinder to the mounting bracket |
| 6 | Connect the hydraulic lines to the power angle kit’s valve |
| 7 | Test and adjust the power angle feature |
- Prepare Your ATV: Before starting the installation, make sure your ATV is parked on a level surface and turned off. Gather all the necessary tools and the power angle kit components, including the power angle switch, wiring harness, and mounting bracket.
- Mount the Power Angle Switch: Begin by mounting the power angle switch in a convenient location on your ATV’s handlebar using the provided hardware. Ensure it is easily accessible and within reach while operating the plow.
- Connect the Wiring Harness: Locate the wiring harness provided in the kit and connect it to the power angle switch. Follow the instructions in the kit manual to properly route the wiring harness, ensuring it is secured and protected from any potential damages.
- Attach the Mounting Bracket: Install the mounting bracket onto the ATV’s plow frame or mounting plate, depending on the design of your ATV plow. Use the appropriate bolts or clamps to securely fasten the mounting bracket in place.
- Connect the Plow Angle Cylinder: Attach the plow angle cylinder to the mounting bracket using the provided hardware. Make sure it is aligned properly and tightened securely to prevent any unnecessary movement during operation.
- Connect the Hydraulic Lines: Connect the hydraulic lines from the plow angle cylinder to the power angle kit’s hydraulic valve. Double-check the connections to ensure they are tight and leak-free.
- Test and Adjust: Once all the components are securely installed, it’s time to test the power angle feature. Start your ATV and activate the power angle switch. Observe the plow blade as it adjusts its angle. If needed, make any necessary adjustments to ensure smooth and precise operation.
4. Maintaining and Adjusting the Power Angle
When it comes to maintaining and adjusting the power angle of your ATV plow, there are a few key things to keep in mind.
This section will guide you through the necessary steps to ensure your power angle feature is working effectively.
Regular Inspection
To start, it’s important to regularly inspect the power angle mechanism for any signs of wear or damage.
This will allow you to catch any issues early on and prevent further damage. Here’s what you should do:
- Check all the connections and bolts to make sure they are secure.
- Inspect the hydraulic hoses for any leaks or cracks.
- Look for any bent or damaged components.
- Lubricate any moving parts to ensure smooth operation.
Adjusting the Power Angle
If you find that the power angle needs adjustment, follow these steps:
- Park your ATV on a level surface and engage the parking brake.
- Locate the power angle control switch or lever.
- With the plow already attached, raise it slightly off the ground using the lift mechanism.
- Activate the power angle control, either by pressing the switch or moving the lever, to adjust the angle.
- Observe the plow’s movement and make adjustments as needed until you achieve the desired angle.
Hydraulic Fluid Check
The power angle feature relies on hydraulic fluid to function properly. It’s essential to regularly check the fluid levels and top them up if necessary. Here’s what you should do:
- Consult your ATV’s user manual to locate the hydraulic fluid reservoir.
- Remove the cap and check the fluid level using the dipstick or sight glass.
- If the level is low, add the recommended hydraulic fluid until it reaches the proper level.
- Be careful not to overfill the reservoir.
By regularly inspecting the mechanism, making necessary adjustments, and checking the hydraulic fluid, you can ensure smooth operation and efficient snow plowing.
Tips for Effective ATV Plowing
When it comes to plowing with your ATV, there are a few tips and tricks that can make the job easier and more efficient. Here are some things to keep in mind:
1. Choose the Right Plow Attachment
Selecting the right plow attachment for your ATV is crucial. Consider the size of your vehicle and the area you need to plow. Opt for a plow that matches your ATV’s power and weight capacity.
Additionally, ensure that the plow has a power angle feature, which allows you to adjust the blade’s angle from the driver’s seat.
2. Prep Your ATV and Plow
Before starting, make sure your ATV is in good working condition. Check the tires, brakes, and engine oil level. Inspect your plow attachment for any damage and ensure all connections are secure.
It’s also a good idea to lubricate the plow’s pivot points and adjust the blade height according to the terrain you’ll be plowing.
3. Start Slowly and Steadily
When you begin plowing, start at a slow pace and maintain a steady speed. Avoid sudden jerks or aggressive maneuvers, as this can strain your ATV and lead to ineffective plowing.
Gradually increase your speed as you get more comfortable with the process, but always prioritize control and stability.
4. Use Overlapping Passes
To ensure complete coverage and prevent missed spots, make overlapping passes with the plow. This technique helps to distribute the snow evenly and avoids leaving behind unattended areas.
Experiment with the width of each pass to find the most efficient and effective method for your specific plow and ATV.
Watch Video: How to Make an ATV Plow Power Angle?
5. Clear Snow in Layers
If you’re dealing with a large amount of snow, it’s best to clear it in layers rather than trying to plow through it all at once. Start with a shallow layer and gradually increase the blade’s depth after each pass.
This approach prevents excessive strain on your ATV and allows for better control and maneuverability.
Conclusion: How to Make an ATV Plow Power Angle? 💭
After going through the process of building your ATV plow power angle, you should now have a functional and efficient tool for clearing snow or other debris.
Remember, safety is paramount when using an ATV plow. Always follow the manufacturer’s instructions and take necessary precautions to prevent accidents or damage.
Regular maintenance of your ATV and plow is also crucial to ensure smooth operation and prolong their lifespan.
Building your own ATV plow power angle might require some mechanical skills and tools, but with the right guidance and patience, it can be a rewarding project.
Enjoy the convenience and efficiency of your customized power angle mechanism while tackling snow removal tasks with ease.
FAQs
What Tools Are Needed to Make an Atv Plow Power Angle?
The tools you will need to make an ATV plow power angle include a drill, drill bits, wrenches, pliers, measuring tape, and various hardware such as nuts, bolts, and washers.
How Do I Mount the Atv Plow Power Angle?
The ATV plow power angle should be mounted to the ATV frame in the center of the plow blade.
It is best to use a combination of bolts, nuts, and washers to secure the angle in place.
How Do I Adjust the Power Angle?
The power angle can be adjusted by loosening the bolts and rotating the angle to the desired position. Then, retighten the bolts to secure the angle in place.
What Type of Plow Blade Works Best with The Power Angle?
A standard plow blade works best with the power angle. It is important to ensure that the blade is compatible with the power angle before purchasing.
What Precautions Should I Take when Using the Atv Plow Power Angle?
It is important to follow all safety instructions when using the ATV plow power angle. Wear appropriate safety gear such as safety glasses and gloves.
Make sure that the power angle is securely mounted and that all bolts are tight before using the plow.