If you are having trouble with your 50cc scooter carb, it is important to understand what the different parts of the carburetor do and how they work together.
A carburetor is a device that helps convert the energy from the engine into usable heat, which is then used to turn the engine’s pistons.
On a 50cc scooter, the carburetor works together with the fuel tank and fuel injection system to provide power to the engine.
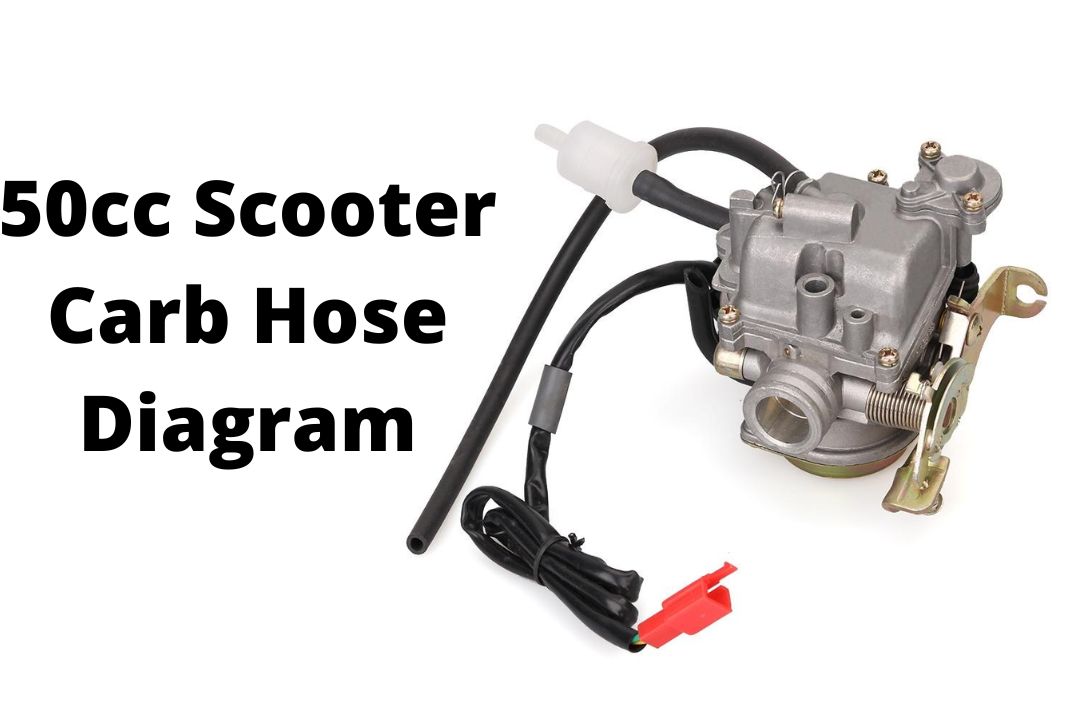
Carburetors on 50cc scooters as shown below in 50cc Scooter Carb Hose Diagram, are not as complex as those on larger machines, but there are certain things to keep in mind when servicing or replacing them.
In this article, we’ll take a look at the basic components of a 50cc carburetor, and discuss the necessary steps for servicing or replacing the carburetor hose.
The Carburetor:
The carburetor on a 50cc scooter is a important part of the engine, and it works together with the fuel injection system to provide power to the engine. Check in the following carburetor hoses diagram.
As shown in 50cc carburetor diagram, the carburetor contains different parts that work together to provide fuel and air mixture to the engine. The main part of a 50cc scooter’s carb is the bowl or chamber where you place your fuel.
This part contains all of the components that help mix air with fuel and send it into the combustion chamber.
The Air Filter:
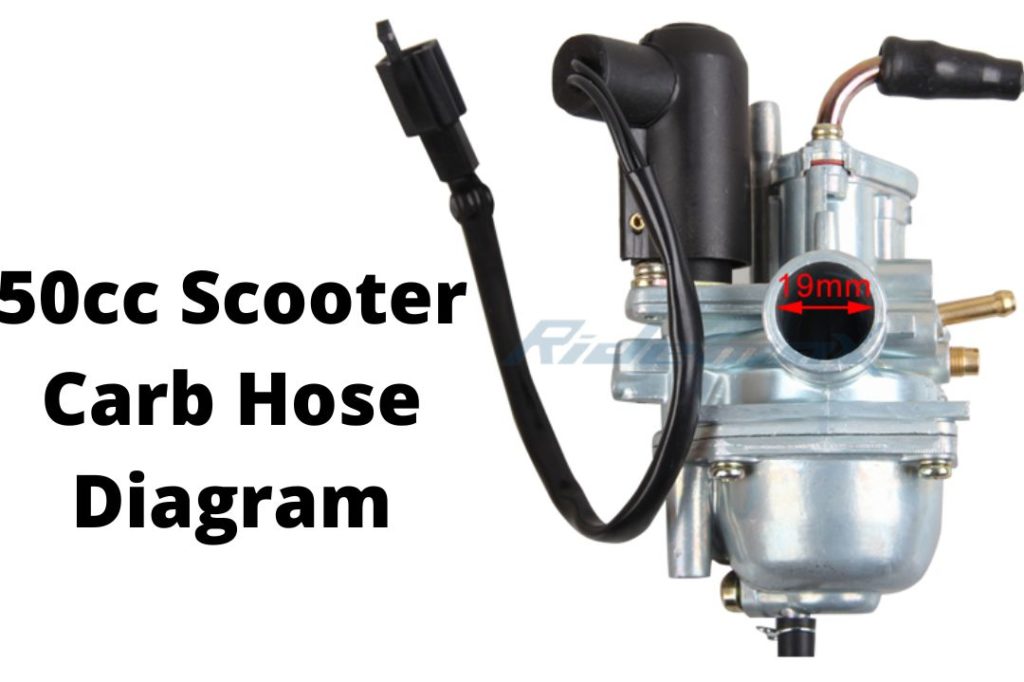
As shown above 2 stroke carburetor hoses diagram, the next part of a 50cc scooter’s carb is called an air filter. This part removes dirt, dust and other objects from the air coming into the carburetor.
It also helps to keep debris out of the throttle body, which affects how well your bike will start in cold weather or when you are riding at high speeds.
Finally, the carburetor has a heat exchanger that transfers heat from the engine to the carburetor. This helps to keep the carburetor cool, which prevents it from freezing up and causing problems with your bike’s engine.
The Fuel Tank:
The Next part of a 50cc scooter’s carb is the fuel tank. This part holds the fuel that you will use to start your bike. The fuel enters the carburetor through a fuel line, and then it is mixed with air before it is sent into the engine.
The Carburetor Hoses:
The carburetor also has a series of hoses that connect it to the engine. These hoses allow the engine to breath, and they also help to control the flow of fuel into the carburetor. Here is carburetor hoses diagram.
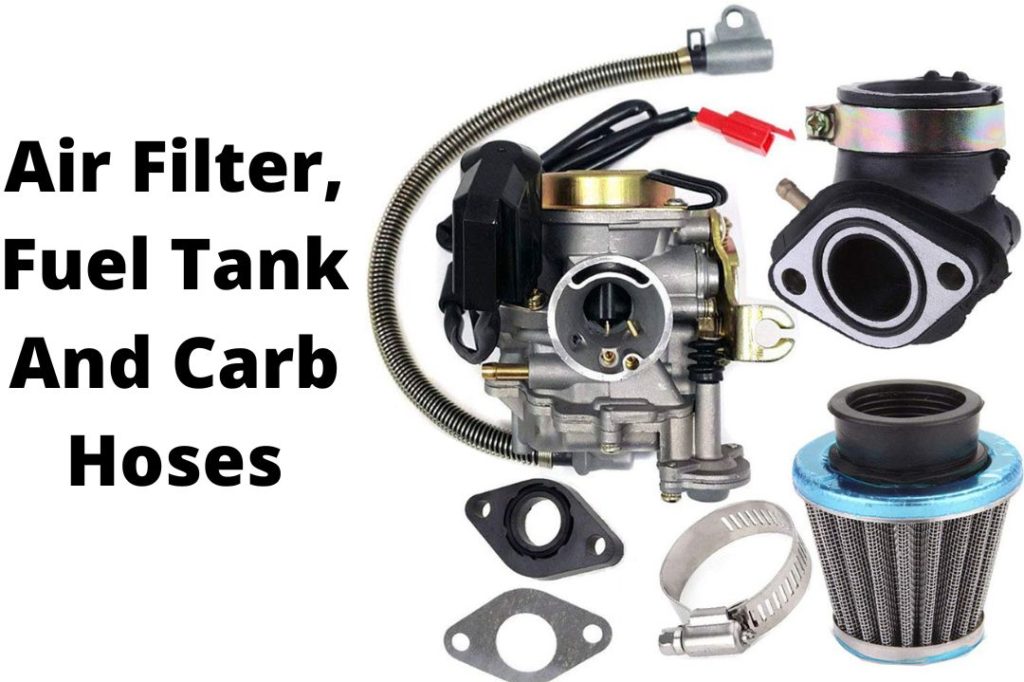
If these hoses become clogged, they can cause your bike to stop running or to make an unusual noise. In order to prevent this from happening, be sure to regularly check these hoses for problems and fix them if needed.
The Throttle Cable:
Another part of the carburetor that can cause problems is the throttle cable. This cable controls the amount of air that is sent into the engine, and it is often clogged by debris.
If this happens, your bike may not be able to start or it may make an unusual noise. In order to fix this problem, you will need to remove the throttle cable and clean it well. Then, reattach it correctly and test your bike’s engine.
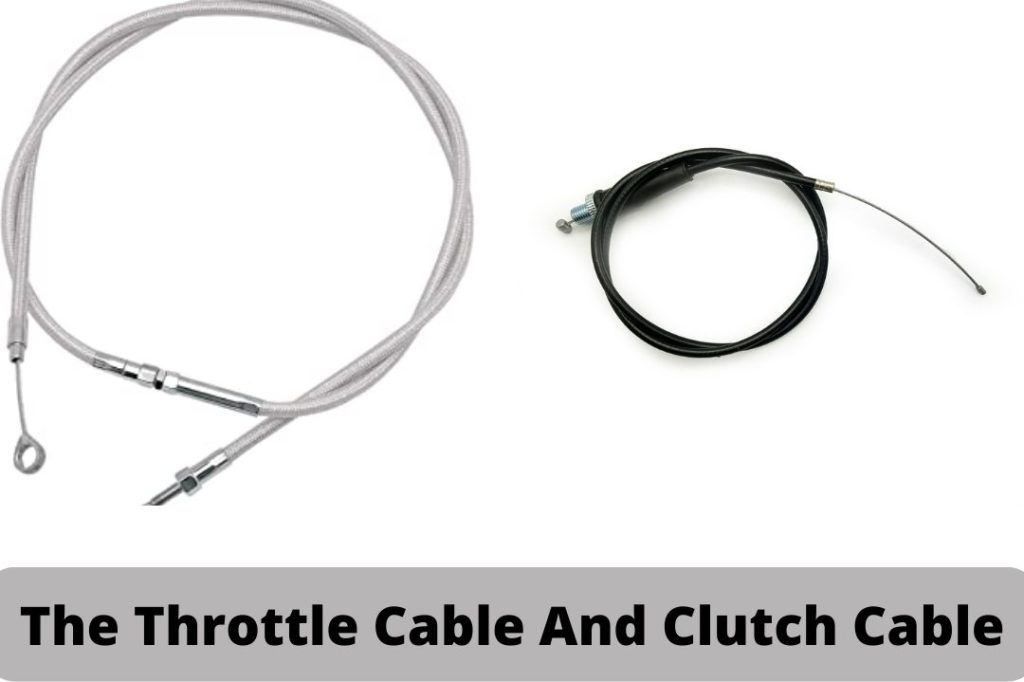
The Clutch Cable:
Last, but not least, is the clutch cable. This cable helps to engage and disengage the engine from the gearbox.
If it becomes clogged, it can cause your bike to stall or make an unusual noise. In order to fix this problem, you will need to remove the clutch cable and clean it well. Then, reattach it correctly and test your bike’s engine.
More: 50cc Scooter Fuel Line Diagram:
The Brake Pedal Lever or Handlebar Button:
A 50cc scooter carburetor hose diagram typically includes the location of the brake pedal lever or handlebar button. This is useful information for new riders, as it can help them to avoid inadvertently braking while riding.
If any of these hoses become clogged, it can cause your bike to stop on a dime.
Ignition Switch or Key Switch:
The ignition switch or key switch is a component found on many 50cc scooters that allows the rider to start the engine. It typically consists of a lever or button that the rider depresses with their foot to start the engine.
Kickstart Lever or Handlebar Button:
When starting the scooter, it is important to use the kickstart lever or handlebar button. These are located on either side of the engine.
When starting the engine, hold down the kickstart lever or handlebar button until it lights up and starts moving. Let go of both when the engine is running and scoot away.
Moped Carburetor Diagram:
A moped carburetor diagram is a visual representation of the different parts of a moped carburetor. It can be used to help identify and troubleshoot problems with the carburetor.

The main parts of a moped carburetor are:
In addition to these main parts, there are a number of other smaller parts that make up a moped carburetor. These parts include the throttle slide, the accelerator pump, and the idle screw.
A moped carburetor diagram can be a valuable tool for anyone who owns or repairs mopeds. By understanding the different parts of the carburetor and how they work together, you can troubleshoot problems and keep your moped running smoothly.
49cc Scooter Carburetor Diagram:
A 49cc scooter carburetor diagram is a visual representation of the different parts of a 49cc scooter carburetor. It can be used to help identify and troubleshoot problems with the carburetor.

The main parts of a 49cc scooter carburetor are:
Conclusion: 50cc Scooter Carb Hose Diagram:
Your 50cc scooter carburetor is now up and running like new. Remember to keep it clean and dry, and don’t forget to replace the carburetor cover when it gets dirty. Following these steps will ensure that your 50cc scooter carb hose diagram is in good working order.
FAQs
Where Do Carburetor Vacuum Lines Go?
Carburetor vacuum lines connect the carburetor to the engine.
The lines are usually black and red, and they run underneath the bike.
They need to be kept clean in order for the engine to run smoothly.
If there is dirt or dust on the vacuum lines, it can clog them up and cause problems with the engine.
How Do You Hook Up A Carburetor On A Scooter?
A 50cc scooter carburetor diagram can help you to hook up the carburetor on your scooter.
The general process is as follows: first, unscrew the carburetor cover and remove the air filter.
Next, remove the screw that holds the air intake hose in place and pull it out of the carburetor.
Finally, hang the air intake hose on one end of the new fuel supply line and screw it in place with the new screw.
How Do You Hook Up Fuel And Vacuum Lines Up On A Gy6 Carburetor?
The 50cc scooter carburetor is a very simple design and most people can replace the carburetor themselves.
The carburetor uses a fuel line and vacuum line to connect it to the engine.
The fuel line connects to the left side of the engine and the vacuum line connects to the right side of the engine.
How Do You Hook Up A Carburetor Hose?
To hook up a carburetor hose on a 50cc scooter, first identify where it connects to the bike.
On most bikes, this connection is located above and to the right of the rear wheel.
Once you’ve located this connection, look for a metal fitting that resembles a pipe or a connector.
This fitting is known as a air cleaner air screw and must be unscrewed before you can attach your carb hose.
After unscrewing this fitting, thread your carb hose onto it and tighten it using your hand-crank tool or another suitable means.